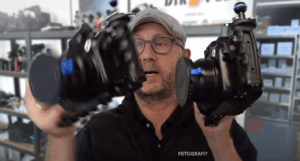
Getting the buoyancy just right on your underwater camera setup can make a world of difference in both handling and overall diving experience. A rig that’s too heavy becomes tiring to maneuver, while one that’s too buoyant can be awkward and unstable. Here’s a simple and effective way to calculate exactly how much flotation you need.
There is a difference between having to add floats to existing arms or if you have to add or replace existing arms and replace with buoyancy arms.
Here we describe both options:
Testing Your Rig’s Buoyancy if you have to add floats to arms
- Assemble Your Full Setup
Start by putting together your entire underwater system – camera, housing, arms, lights, and any accessories you plan to use during your dive. Attach everything securely, just as you would for an actual dive. - Tie on a Long String
Secure a long, strong string to the rig. You’ll use this to lower it into the water and measure the buoyancy. - Lower the Rig into Water
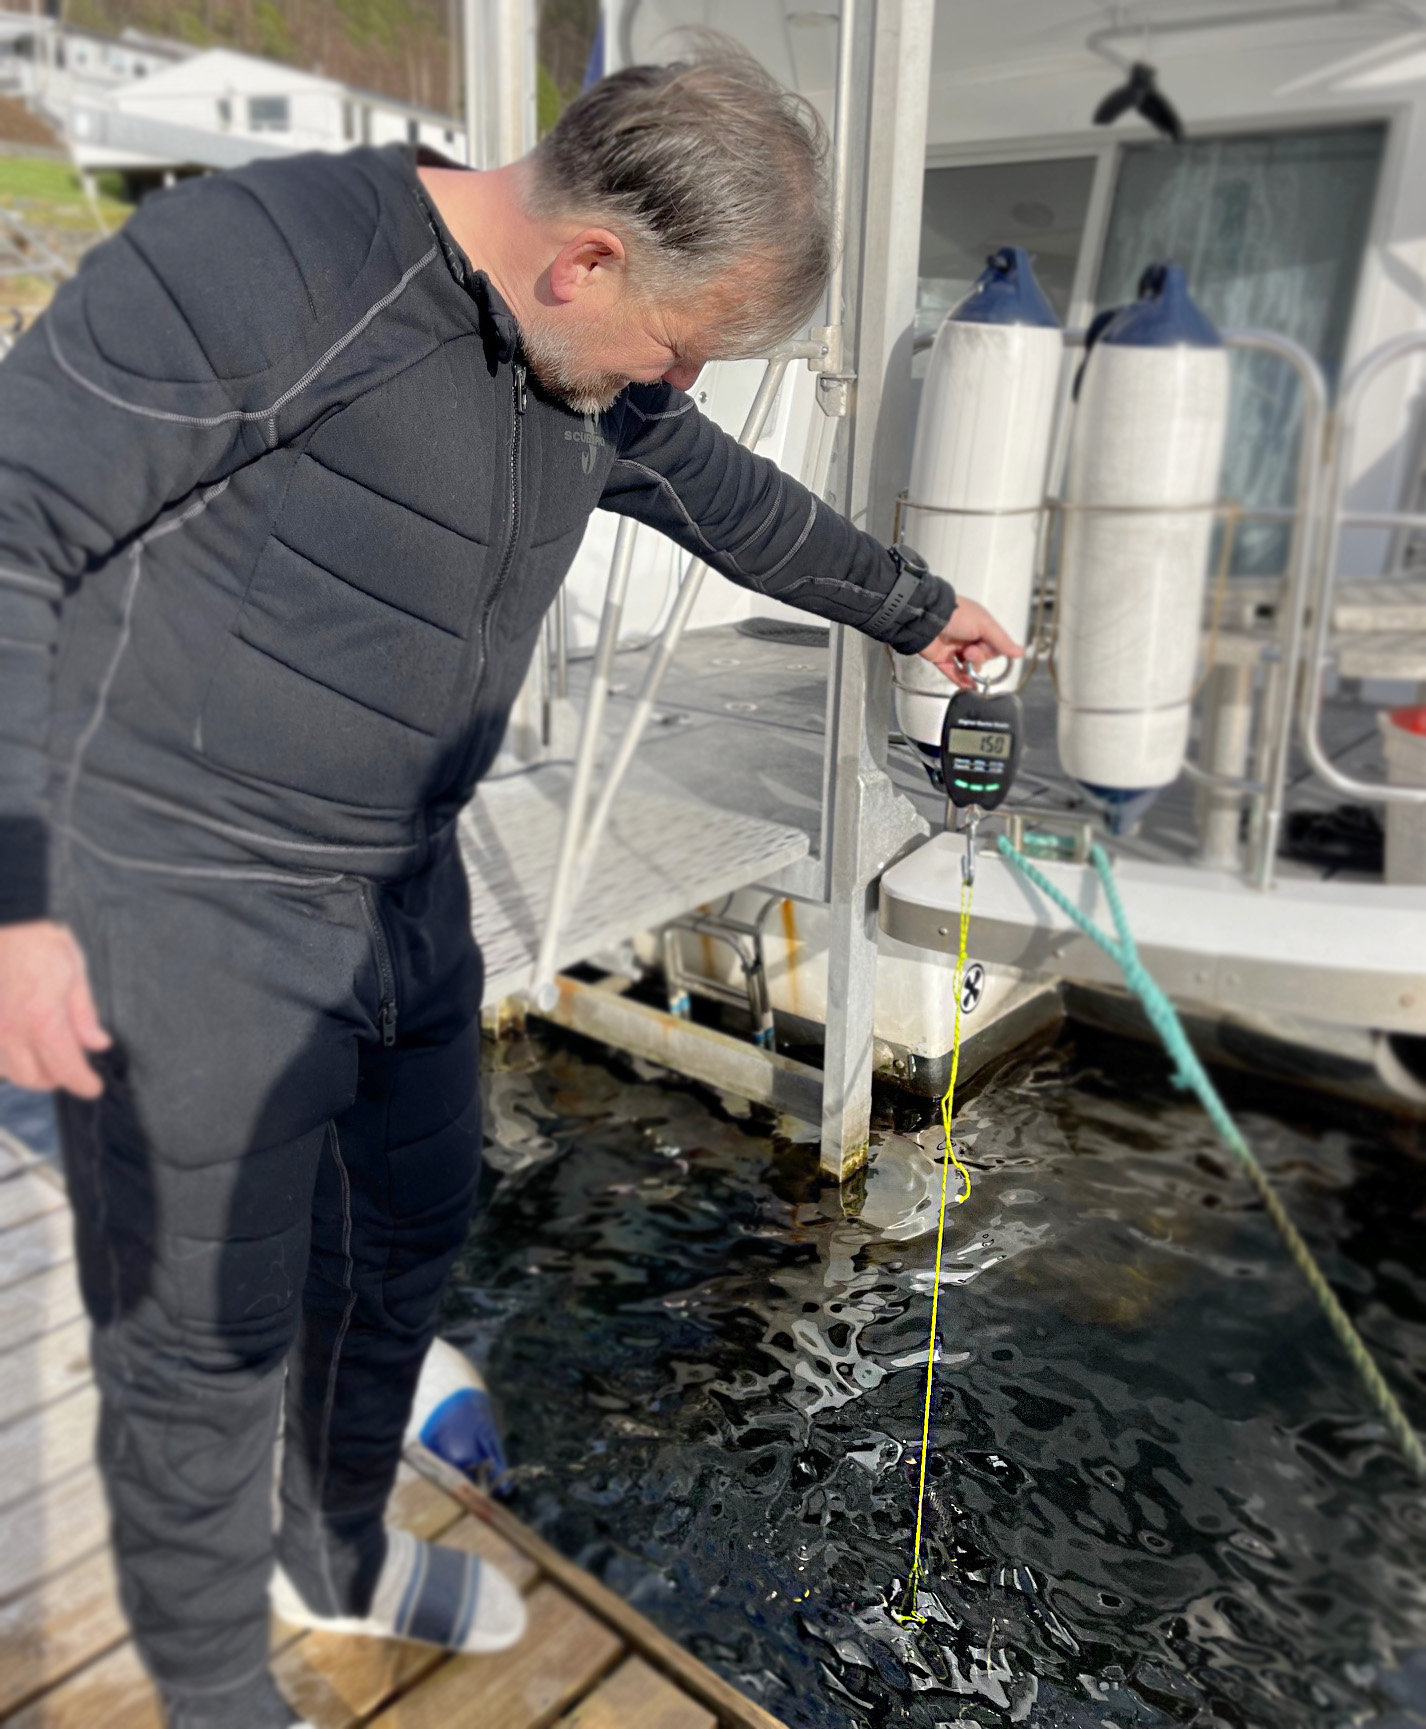
Head to a location with easy water access – a dock, pool, or calm shore will do. Gently lower the rig into the water using the string. - Attach a Luggage Scale
Tie the free end of the string to a luggage scale. With the rig fully submerged and hanging freely, read the weight shown on the scale. This is how much negative buoyancy (in grams) your rig has underwater. Example: If the scale reads 1250g, your setup is pulling downward with that much force. - Calculate Required Floatation
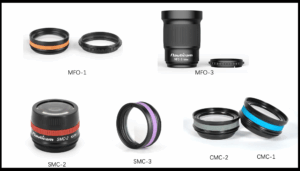
To make your rig neutrally buoyant, you’ll need to add floats that provide 1250g of lift. For example, StiX Jumbo floats offer 190g of lift each, so: 1250÷190≈6.5 floats.
In real-world terms, that means 3 floats on each side of your rig should get you very close to neutral.
Proceedure if you want to exchange some of your existing arms with new ones.
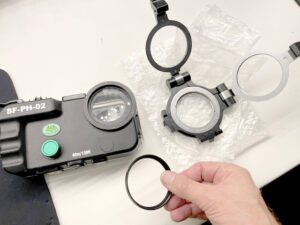
- If you already have arms, that you want to exchange, you need to weigh the system without them.
- Set your system up, but remove the arms you do not want to use anymore.
In short – you put everything else together, incl the clamps that are to be used.
(Yes, the system can not be put together correctly, since there are now too many clamps, but you can add them to the system with cable ties, as you NEED to know their weight too) - Now you put the setup (without the old arms) in the water, and see how much the scale reads.
This will equal the nett-lift of the new arms you have to add. - All our arms are mentioned on our website with nett-lift, and this will allow you to decide what arms you like and shall use.
- So, if you are two arms short, and have a nett-negative lift of 1500g, then you know that the two new arms need to have a nett-lift of 750 g each.
Final Tips
- Aim for slight negative buoyancy as a system too buoyant is not comfortable.
- Consider trimming your setup in a pool or on a confined test dive before open water use.
- Remember, water types can affect buoyancy slightly. (more or less salt)
Need help choosing the right floats for your system?
Feel free to contact us – we’re happy to help!
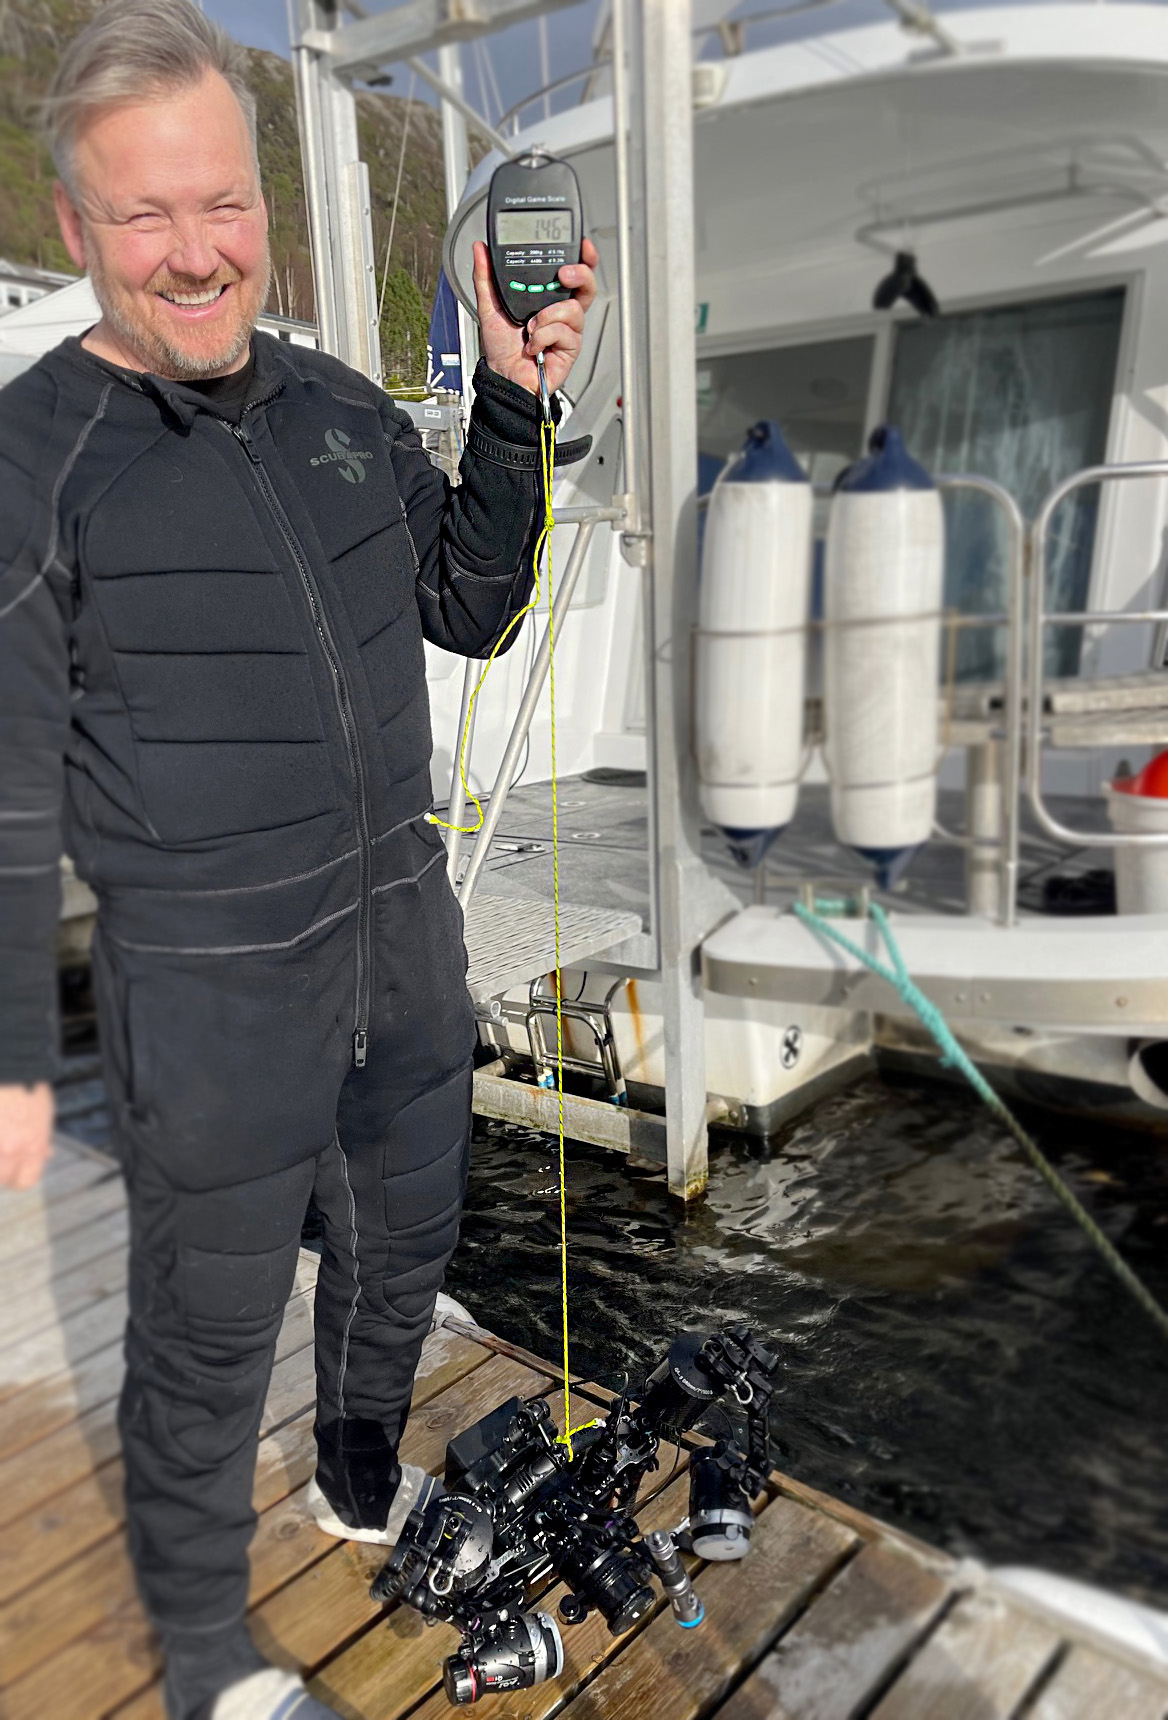
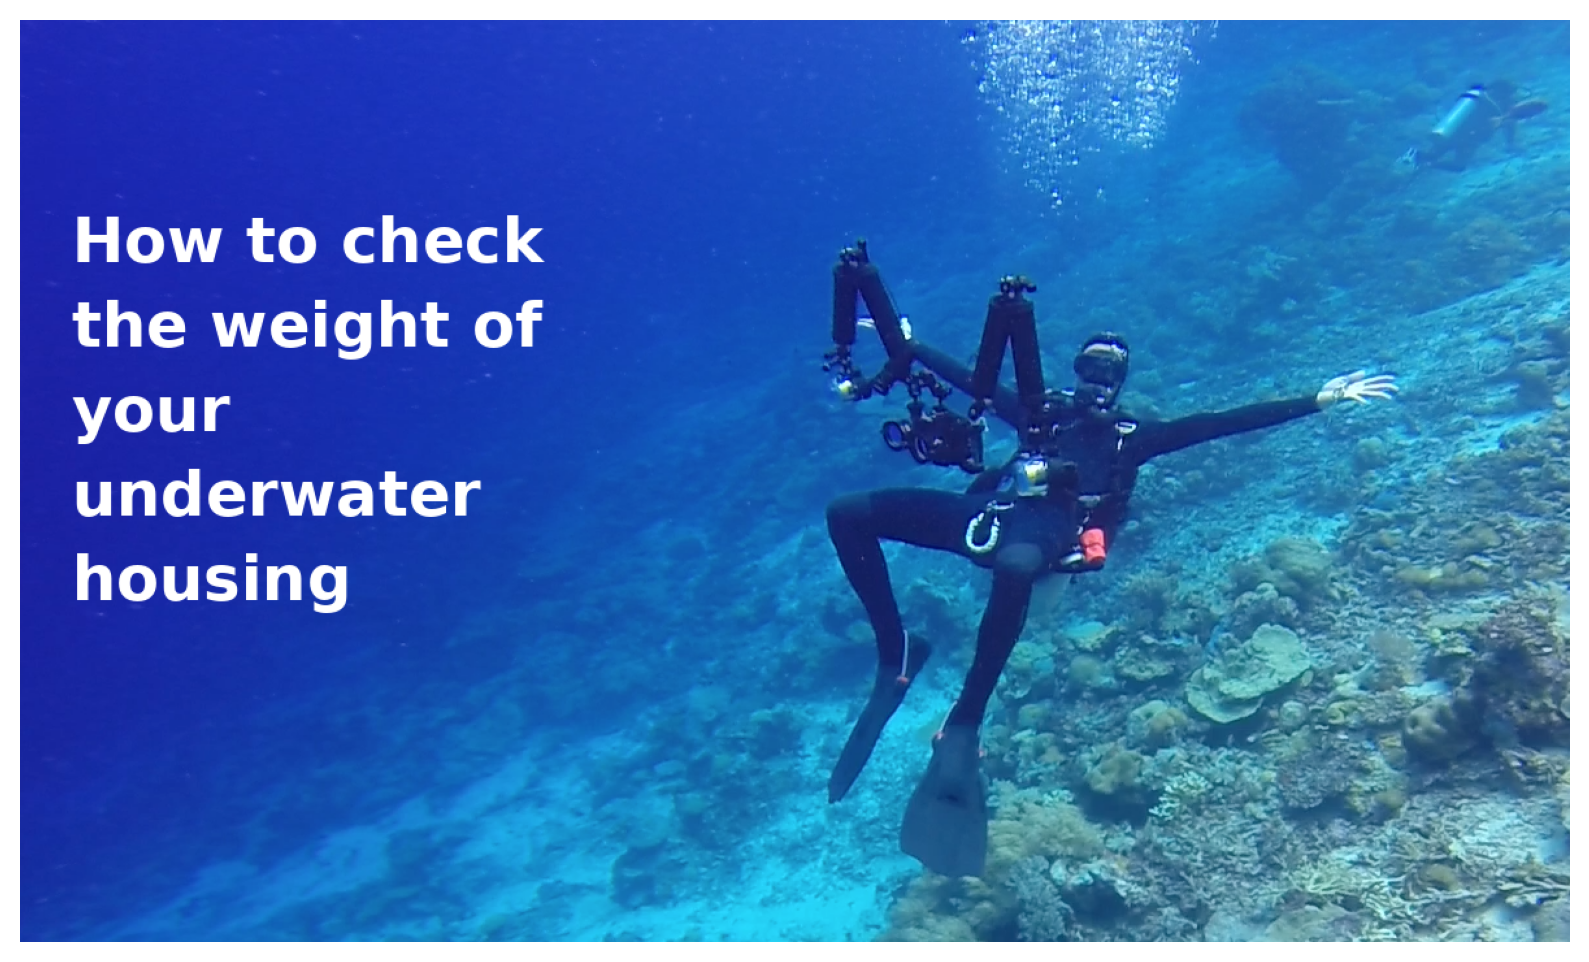
Here you can see a system put together and ready to be measured.